
How to Upload a Video to Google Drive in Minutes

Uploading a video to Google Drive is incredibly straightforward. On the web, you just head to drive.google.com, hit the New button, and choose File upload. Even faster? Just drag the video file from your computer and drop it right into your browser window.
Why Use Google Drive for Your Videos?
Before we get into the nitty-gritty of uploading on different devices, let’s talk about why Google Drive is such a popular choice for video. It’s not just about dumping files into the cloud; it’s about creating a flexible space for collaboration, easy sharing, and secure storage. For tons of people, it’s the go-to spot for everything from family videos to essential work projects.
A Central Hub for Collaboration and Access
Think about a freelance video editor who just wrapped up a project. Instead of dealing with slow, clunky file transfer sites, they can just pop the high-res draft into a shared Google Drive folder. The client can then jump in, watch it, and even leave time-stamped comments right on the video. No back-and-forth emails with confusing notes.
Or, picture a marketing team working remotely. Everyone can access the most current version of a campaign video, ensuring nobody is working off an old file. This kind of real-time access is what makes Drive so powerful. Plus, it plays nicely with other Google tools, which is a huge productivity booster. For instance, you can integrate your workflows even further by learning how to connect Google Calendar with Slack.
The real magic of Google Drive isn’t just storing your videos. It’s about turning them into active, collaborative assets you can share, review, and work on from anywhere.
The numbers really back this up. By 2025, Google Drive is used by around 2 billion people every month, making it a true giant in cloud storage. A big reason for its popularity is the generous free plan—you get 15 GB of storage right out of the gate. For comparison, a service like Dropbox only starts you off with 2 GB. That 15 GB is often more than enough to get started sharing video files without having to pay a dime. You can dig into more stats about Google Drive’s user base if you’re curious.
Getting Videos from Your Computer into Google Drive
Your computer is probably where most of your video files live, so it’s the natural starting point for uploading to the cloud. Google gives you a couple of straightforward ways to do this, and which one you choose really depends on your workflow. We’ll walk through both the super-quick web browser method and the more powerful desktop app.
For a one-off upload, you can’t beat the simplicity of using your web browser. There’s no setup involved—just open your Drive, and you’re good to go.
The Classic Web Browser Upload
The most direct way to get a video into your Google Drive is to simply drag and drop it. Open your Google Drive in a browser tab, find the video file on your computer, and just drag it right into the browser window. You’ll see the screen highlight, showing you it’s ready to accept the file.
If you prefer a more traditional click-through process, that works just as well.
- First, head to the Google Drive folder where you want to store the video.
- Click the big, colorful + New button you see in the top-left corner.
- From the menu that pops up, choose File upload.
- A new window will open, letting you browse your computer’s files. Just find your video, select it, and click open.
This is what you’re looking for—the ”+ New” button is your main starting point for any manual upload.

No matter which method you use, a little status box will appear in the bottom-right of your screen to show you the upload progress.
For Power Users: The Google Drive for Desktop App
If you’re constantly moving videos or entire folders of footage to the cloud, you absolutely need the Google Drive for Desktop application. This changes the game entirely. Instead of you having to manually upload anything, the app syncs a specific folder on your computer directly with your Google Drive.
This means any video file you drop into that designated folder on your PC or Mac automatically begins uploading in the background. It’s a lifesaver for handling large batches of files or making sure your ongoing projects are always backed up without you having to think about it.
My Pro Tip: I always make a point to organize my videos into specific project folders on my computer before they start syncing. For instance, I’ll create a “Q3 Marketing Videos” folder on my desktop, and that’s the one I sync. This simple habit keeps my Drive from turning into a chaotic mess of untitled files down the road.
This “set it and forget it” approach is also far more reliable for massive files, since a browser crash or an accidental tab closure won’t interrupt the process. You can just drag your day’s footage into the folder and let the app do the heavy lifting.
Uploading Videos from Your Phone or Tablet
Let’s be honest, most of our videos live on our phones. Whether it’s a family memory or a clip for a work project, getting it off your device and safely into the cloud is a must. Thankfully, uploading a video to Google Drive from your phone is incredibly straightforward.
The whole process is handled right inside the Google Drive app, and it works pretty much the same on both iPhone and Android. You just pop open the app, tap that big colorful ‘+’ button, and choose ‘Upload’. This lets you dive right into your phone’s camera roll to find the video you need.
This quick visual breaks down just how simple it is to get a video from your phone’s gallery into your Drive.
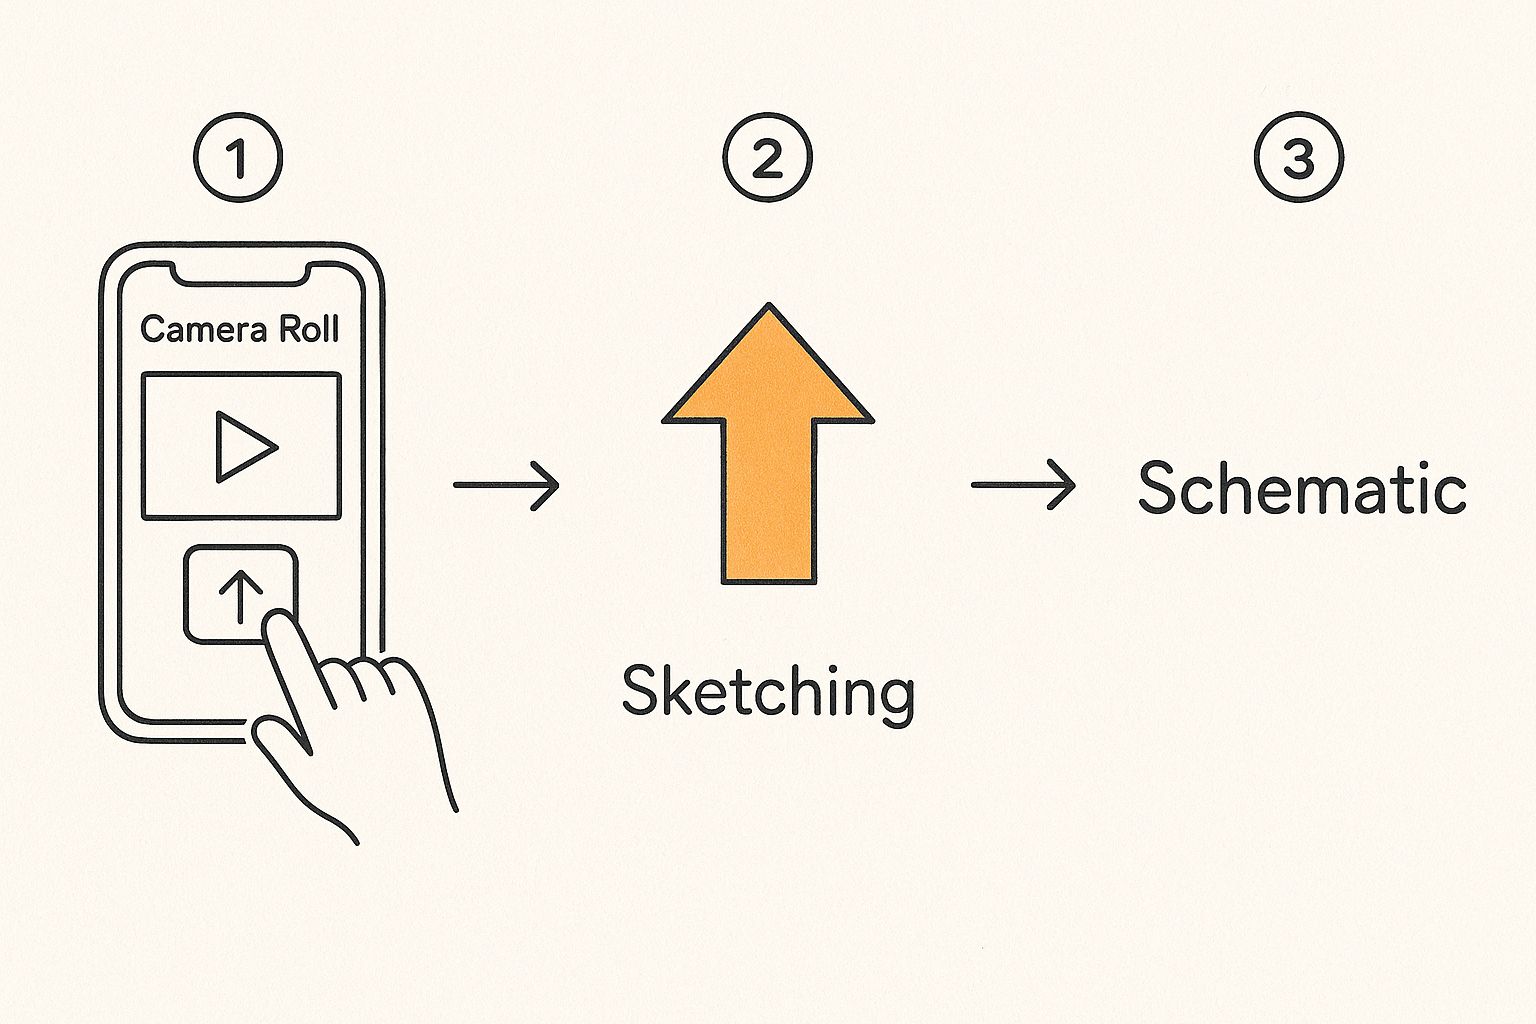
As you can see, it’s just a few taps to send your file on its way to the cloud.
Best Practices for Mobile Uploads
While the process is easy, a few pro tips can save you from some common frustrations, especially when dealing with larger files.
First and most importantly: get on Wi-Fi before you upload. I can’t stress this enough. A single 4K video can demolish your monthly mobile data plan in minutes. It’s a mistake you only make once.
Also, a heads-up for iPhone users: if you close the Google Drive app, the upload will pause. It’s best to just leave the app open on your screen until you see that confirmation that your file is safely uploaded.
It’s also worth clarifying how this differs from Google Photos. Photos is great for automatic backups, but it often compresses your videos to save space. If you need to preserve the original, full-resolution file, a manual upload directly to Google Drive is always the better option.
Choosing Your Destination Folder
Here’s a small habit that pays off big time: decide where the video should go before you start the upload. If you just hit upload from the main screen, your video will land in your “My Drive” root folder, which can get messy fast.
Instead, try this:
- Open the Google Drive app.
- Navigate into the exact folder you want to use (like “Summer Vacation 2024”).
- Then tap the ‘+’ icon and select ‘Upload’.
Taking that extra five seconds to pre-select the folder keeps your Drive organized from the get-go. It’s the difference between a tidy digital archive and a chaotic junk drawer you’ll have to clean up later.
Dealing with Large Videos and Slow Uploads
We’ve all been there—staring at a progress bar that barely seems to move while a huge 4K video file inches its way to the cloud. It’s a modern-day form of torture. When it comes to uploading videos to Google Drive, the two biggest bottlenecks are almost always your internet upload speed and the sheer size of the video file itself.
https://www.youtube.com/embed/E151AWdEx4A
It’s easy to forget that most internet plans are asymmetrical. We get blazing-fast download speeds for streaming movies, but the upload speed—the one that actually matters for sending files—is often a fraction of that. If you’re frequently wrestling with massive video files, it’s definitely worth checking to see if you can improve your upload speeds.
Shrink Your Videos Before They Leave Your Computer
One of the most effective tricks I’ve learned is to shrink the file before you even start the upload. Compressing a video doesn’t have to mean turning your crisp footage into a pixelated mess.
A fantastic, free tool for this is HandBrake. It’s an open-source video transcoder that can dramatically reduce a file’s size with very little noticeable loss in quality. Think about it: a 10-minute 4K clip that’s several gigabytes large can often be compressed down to a much friendlier size. This simple step can turn an hour-long upload ordeal into a quick, few-minute task. It’s a small change that can make a huge difference in your process, much like understanding what is workflow automation can optimize other parts of your work.
Are You Hitting Your Storage Limit?
Remember, that free Google account you’re using comes with 15 GB of storage. That space isn’t just for Drive; it’s shared across Gmail and Google Photos, too. High-resolution videos are storage hogs and can devour that free space in no time.
I’ve seen people in forums mention waiting 4-5 hours to upload a batch of 400 photos and videos. Your mileage will vary based on file sizes and your connection, but it highlights the reality of bulk uploads. If you’re a content creator, videographer, or just someone who shoots a lot of high-quality video, you’ll likely hit that 15 GB ceiling pretty quickly.
When that happens, upgrading to a Google One plan isn’t just a luxury—it’s a necessity to keep your projects moving without constant storage anxiety.
To help you decide if an upgrade is right for you, here’s a quick breakdown of the most common Google One plans.
Google Drive Storage Plans at a Glance
| Plan Name | Storage Amount | Price (Approx.) | Best For |
|---|---|---|---|
| Basic (Free) | 15 GB | $0/month | Casual users, document storage, and occasional photos. |
| Basic | 100 GB | $1.99/month | Hobbyist photographers, students, and regular cloud backups. |
| Standard | 200 GB | $2.99/month | Families (can be shared), small business owners, video creators. |
| Premium | 2 TB | $9.99/month | Professional videographers, heavy data users, and digital archives. |
Ultimately, choosing a plan comes down to how much you create and store. For serious video work, the 2 TB Premium plan often provides the perfect balance of space and affordability, ensuring you never have to pause a project because you ran out of room.
Sharing Videos and Setting Permissions
Once your video is uploaded to Google Drive, the next step is getting it to the right people. This is where Drive really shines, moving you past the hassle of massive email attachments and giving you fine-tuned control over who can see your work.

You have two main ways to share. You can either invite specific people using their email addresses or generate a shareable link. Inviting people directly is by far the most secure method, making it perfect for sensitive client projects or internal team reviews. Only the accounts you list will get access.
If you’re constantly sending email notifications for these shared files, you might find it helpful to look into setting up automated emails from Gmail.
Defining Roles and Access Levels
Sharing isn’t just an on/off switch. When you give someone access, you’re also assigning them a specific role, which is key to protecting your original video file.
- Viewer: This is the most restrictive option. People can watch the video, but they can’t download, copy, or change it. Use this for general-purpose sharing when you just want someone to see the content.
- Commenter: Perfect for feedback rounds. A commenter can watch the video and leave time-stamped comments right on the file, but they can’t alter the video itself.
- Editor: This role grants full control. An editor can organize, edit, share, and even delete the file. Be careful with this one—only give it to trusted collaborators who need to make changes.
Here’s a pro tip for time-sensitive projects: you can set an expiration date on access. If you’re sharing a rough cut that’s only meant to be viewed for a week, you can have Google automatically revoke access after that period. It’s a great way to maintain control without having to remember to do it manually.
For even easier access in certain situations, like at an event or on a physical handout, you can also create a QR code for a video that links directly to your file in Drive.
Google is also adding more powerful features for video. As of mid-2025, you can now track basic video engagement analytics, like view counts, right from the file details pane. This simple addition helps you see who’s actually watching the content you share.
Got Questions? I’ve Got Answers
When you’re first getting the hang of uploading videos to Google Drive, a few questions always seem to pop up. Let’s walk through some of the most common ones I hear, so you can solve any snags and get back to work.
How Long Until My Video is Ready to Watch?
So, your upload progress bar hits 100%—but why is the video still blurry? After the upload finishes, Google Drive still has to “process” the video to make it streamable, especially in high definition. You’ll usually get a low-quality preview almost instantly, which is handy.
But for the full HD or 4K versions to become available, you’ll need to wait a bit. This can be anything from a few minutes for a short clip to several hours for a massive 4K film project. It really comes down to the video’s size, length, and resolution. A little patience goes a long way here, especially with those larger files.
Can I Add a Video Straight to a Shared Folder?
You bet. As long as you have Editor access to a shared folder, you can upload a video directly into it, just as you would with any of your own folders.
The key thing to remember is that the video’s storage size will count against the folder owner’s storage quota, not yours. This is a fantastic way to collaborate on video projects without filling up your own personal Drive space.
Here’s a pro-tip: Don’t upload a video to your “My Drive” and then drag it over to the shared folder. When you upload directly into the shared space, everyone with access gets a notification, and the storage is correctly assigned to the folder’s owner right from the start.
What Kind of Video Files Can I Upload?
Google Drive is pretty flexible and plays nicely with most of the video formats you’ll run into. You can stream these directly from the browser without needing to download them first.
- .MP4: This is the universal standard. It’s the most compatible and tends to process the fastest.
- .MOV: If you’re working on an Apple device, you’ll see this a lot. It works great.
- .AVI: An older but still very common format that’s usually playable.
- .WMV: The standard Windows Media Video files are also supported.
And if you happen to have a more obscure video format? No worries. Even if Google Drive can’t play it back in the browser, you can still store the file, share it, and download it just fine.
Help! My Video Upload is Stuck. What Do I Do?
Seeing that dreaded stalled upload can be frustrating, but it’s usually down to one of a few things. The most common culprits are a flaky internet connection, a file that’s too big for your remaining storage space, or just a temporary hiccup on Google’s end.
Before you panic, try the simple stuff. Pause and then resume the upload. If that doesn’t do the trick, double-check your Wi-Fi and make sure you actually have enough free space in your Google Drive account. For really big files, I’ve found that using the Google Drive for Desktop app is much more stable than trying to upload through a web browser.
Stop wasting time on repetitive tasks. With Sagekit, you can automate your workflows in minutes just by describing them. See how much time you can save and start your free trial.